


25 Apr That’s a Wrap! A Beginner’s Guide to Vehicle Wraps (And Why Your Business Needs One)
The automotive wrap market is set to reach $4.12 billion by 2022. This is mostly in thanks to the ease of application and being budget friendly.
Unlike painting, a vinyl wrap applies much more quickly. You also have a lot of freedom when it comes to design.
If you are considering getting your company vehicles wrapped, there are few things you need to know about vehicle wrap templates. These are the guides that will help you create your wrap.
Let’s get you prepped for your vehicle wrap!
Vehicle Wrap Templates Basics
Before you start with a company that provides vehicle wrapping services, you need to understand the basics. You need a template to convert your design into a format that works on your vehicle.
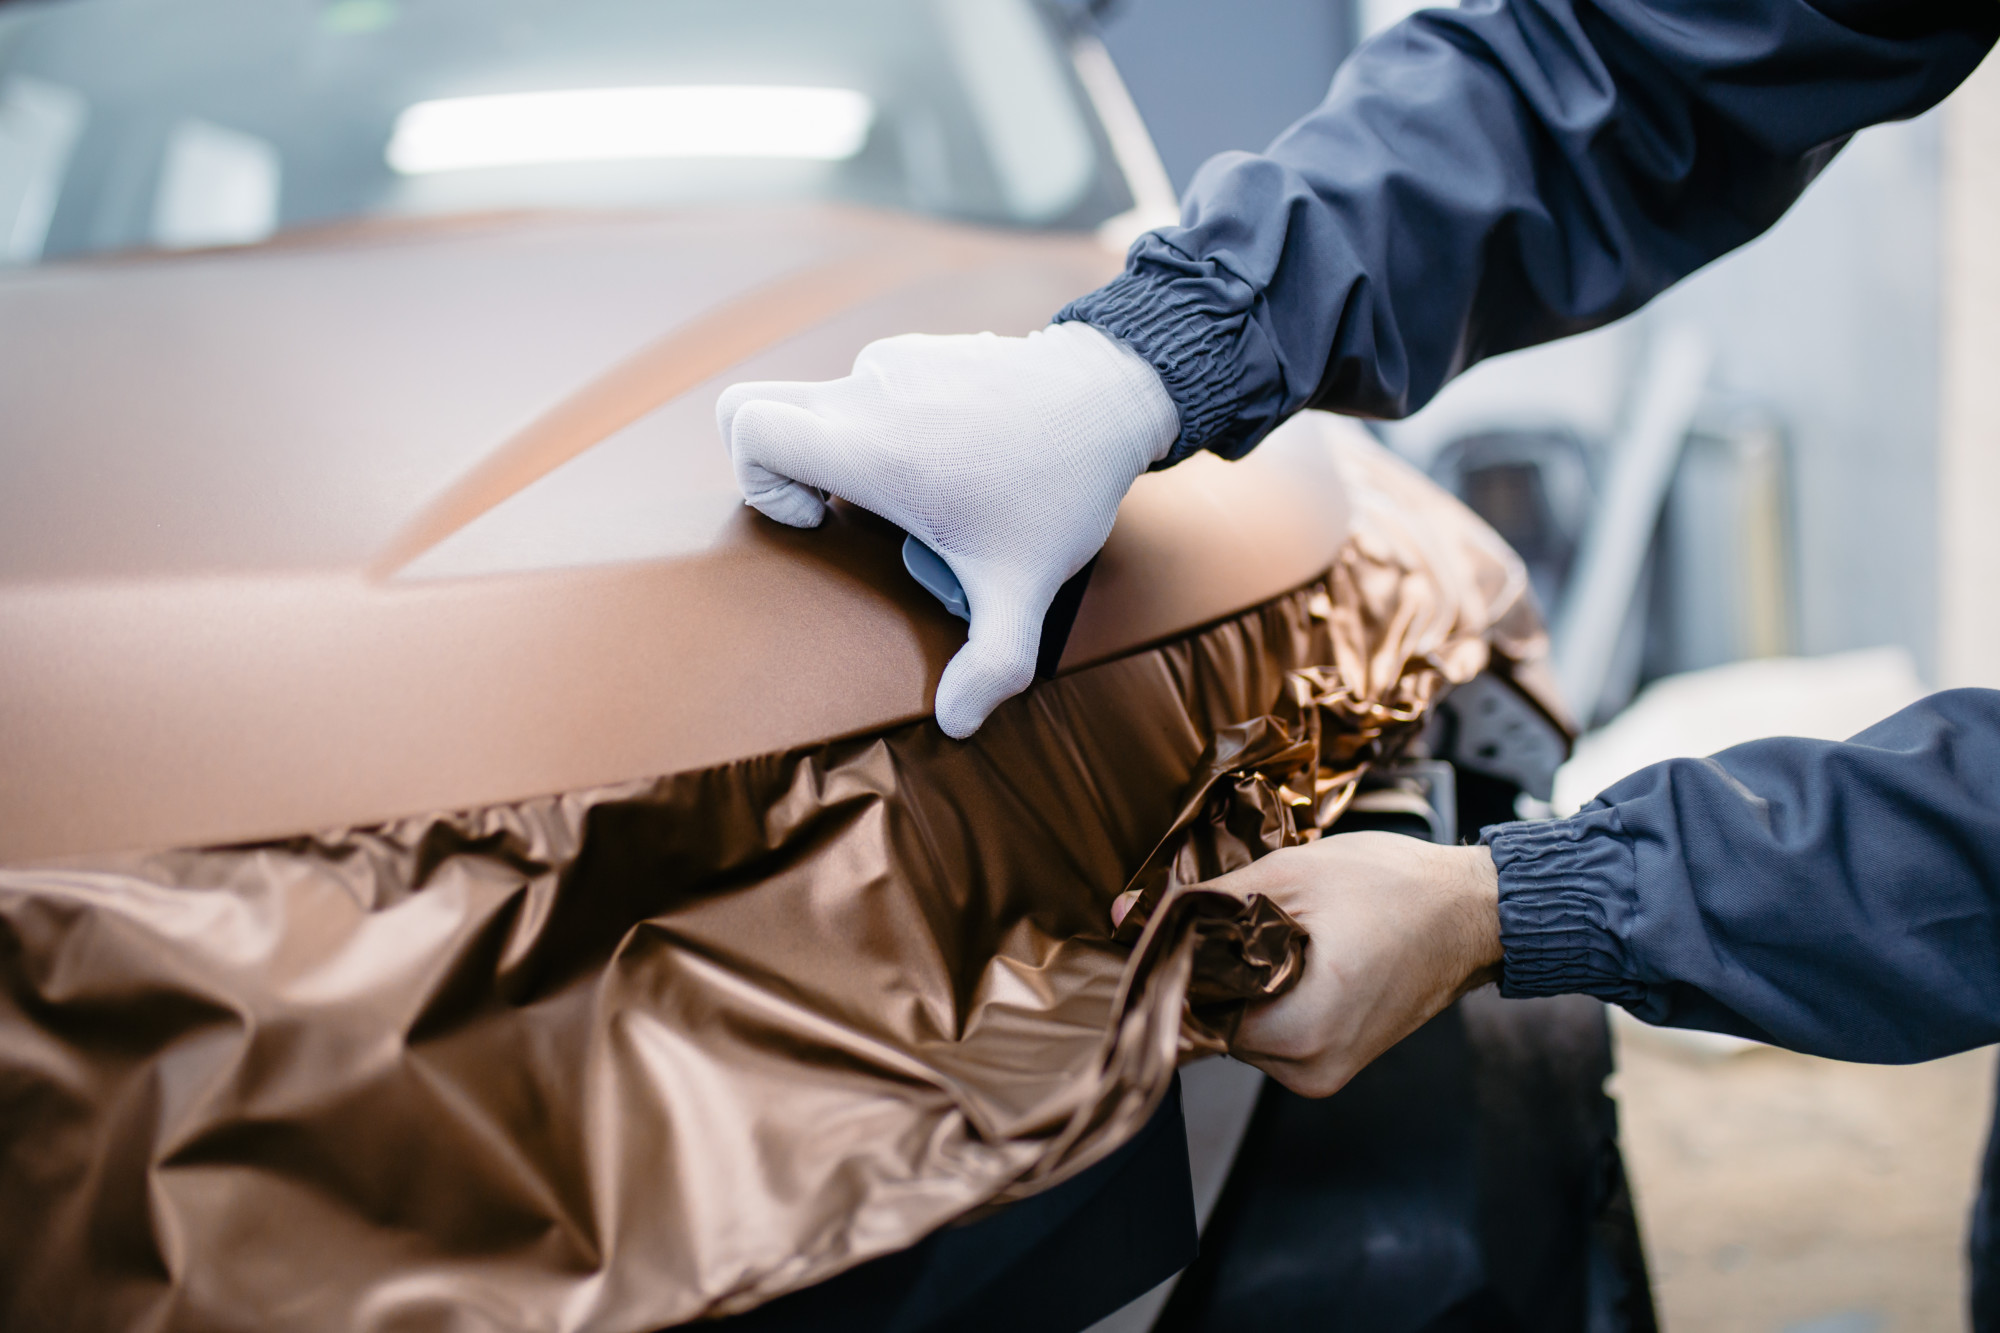
Cars Aren’t Flat
The first thing to remember is that vehicles are not flat. So that beautiful artwork that is flat will not look the same when you put it on your three-dimensional car.
Take into account the angles, curves, and volume. This will prevent your design from looking strange as a result of poor placement.
Not All Cars Are the Same
In 2017 there were 237 existing car models in the United States, and another 38 were introduced. The difference between a high-quality wrap and a second rate one is the customization to your specific model of vehicle.
The template you use needs to match your vehicle. This means a lot of measuring is required to create an accurate template.
Everything from the overall dimensions to the placement of the emblems needs measuring.
Gather All of the Information
Your first step in ordering vinyl wraps for your vehicle is to gather all relevant information. It is crucial that you select the exact matching template to your model.
Many professional wrapping services will charge you a fee for fixing your completed wrap.
Once you have your template, ask your printing and wrapping company if they have any specific requirements. This way you can comply with their needs from the start and save yourself work.
Get Inspired
If you already know what you want your vehicle wrap to be, then you can skip this step. For most people though, there is a lot of space on the surface of a car, and they aren’t sure how to fill it.
A helpful place to start is by looking at wraps that other businesses have done. Keep in mind that if you see wraps with photo images, they are very high-resolution. If you want to go this route, you will need the assistance of a professional photographer.
Pay attention to logo and design placement. Figure out what would look best on your vehicle and still stay on brand for your business.
Create Your Design
Now comes the fun part, designing your wrap. Take the inspiration and ideas you’ve gathered in the last step and start designing your wrap.
Keep It Simple
When in doubt about your design, stay on the side of simplistic. Remember, this marketing medium is typically moving in traffic. You want a design that people can easily and quickly read and comprehend.
Another good strategy is to create an instantly recognizable design. One that people can immediately identify as one of your company’s vehicles.
Placement
Pay attention to the placement of the design in relation to the details of the vehicle. This is how you avoid an unfortunate placement of your design. You don’t want your wraps to become a joke on the internet because you didn’t think about placement.
Color
When it comes to color, you want to use eye-catching and contrasting colors. Don’t choose colors that are too close to each other or people won’t be able to distinguish them.
File Type
Most vehicle wrap templates are created in Adobe Illustrator or Photoshop. Ask which file type your printer prefers. Most want a vector file so that it is scaleable.
Other Things to Consider
When you choose your colors, make sure they are in CMYK format. This is a standard set of codes for colors to ensure that the color you want is the color you get.
Stay consistent with your scaled ratio. Most people choose a 1:10 ratio.
Make sure your document is set to 720 ppi. This will ensure the details stay present one your full size printed vinyl.
Once you have your type decided on, convert your fonts to outlines. This changes each letter from font to a shape. This is needed because not everyone will have your chosen font.
Make sure you extend your design out to the edge of the bleed on all of your templates. You do this to make sure your design is continuous around edges
Order Your Vinyl
Once you have the design you are happy with it is time to submit it to the printer. They will check your design for any potential issues and then create your vinyl.
Then all that is left is to apply it to your vehicles.
Post Installation
It is best to wash your wrapped vehicle by hand with a sponge and mild soapy water. Using any kind of pressurized washer will risk lifting the wrap at the seams.
Never take your wrapped vehicle through the automatic car washes. The bristles in these washers can damage your wrap.
You can wax your vehicle every three months to help keep your wrap protected. To keep your wrap looking like new avoid parking under trees and in direct sunlight for long periods of time.
Get Your Vehicle Wrapped
Now that you understand how vehicle wrap templates work, it’s time to get your vehicles wrapped! Set yourself up for success by choosing the template that matches your model of car.
Then work with a reputable company to design the perfect wrap for your cars. All that’s left is to hand your design over the professionals and let them wrap.
For expert wrapping, contact us today, and we can help you design the perfect wrap for your company vehicles.